User Guide for Veeam 365 Self Service Restore Portal
If you are one of our Managed Microsoft 365 Backup customers, you will be familiar with browsing and restoring 365 data using the local Veeam Explorers.
Since version 6 Veeam have provided enhancements to this process, one of which includes a self-service restore portal.
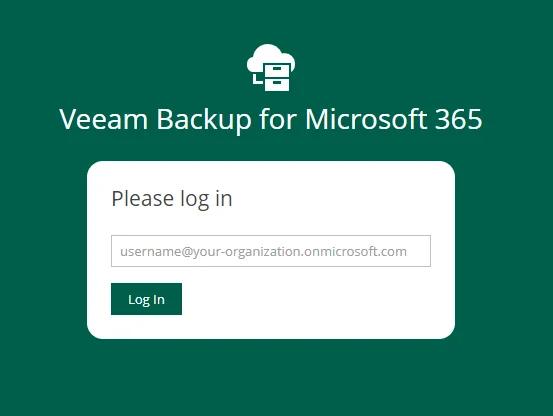
Accessible within any browser, anywhere in the world, the portal allows you to restore any 365 data from Mailboxes, Onedrive and Sharepoint with just a few clicks.
The portal supports Single Sign On (SSO) for your 365 users, and by default every user can access their individual backup data.
We can also grant Restore Operator roles for any users in a tenant, which will allow access to the full organisation backup data (e.g. for Administrators), or just a subset of the organisation. For example, a Sales Team Leader may require access to view and restore all data for users in the Sales AD group and the sales@ shared mailbox.
To get setup with the portal, follow the steps below:
- Download our script which will automatically deploy the AzureAD application required for portal access
- Rename the downloaded file from Connect-VBO365RestorePortal.txt to Connect-VBO365RestorePortal.ps1
- Run the script by right clicking and selecting Run with Powershell
- The script will first check if the required packages are installed (AzureAD and Az.Accounts)

- If required these will be installed
- You will then be prompted to login to your tenant. Enter details for an Administrator account, and authenticate 2FA if required:
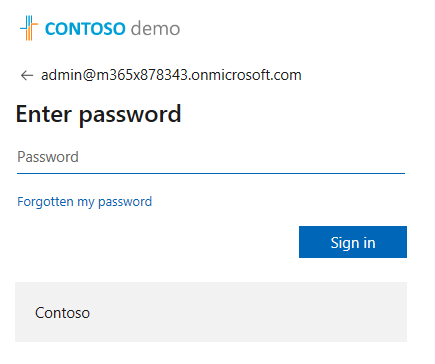
- The Azure AD application is then deployed and Admin Consent granted for users

- Once deployed successfully, you can then close the powershell script

Complete!
You can now login to the restore portal at https://365.backupserver.cloud using 365 credentials.
Any issues with running the script you can assign the appropiate permissions to the application with just a few steps, guide is here
Restoring Data
- Upon logging in, You will asked to select a restore point, the user can then expand Mail or OneDrive on the left and select items to restore using the Restore button:
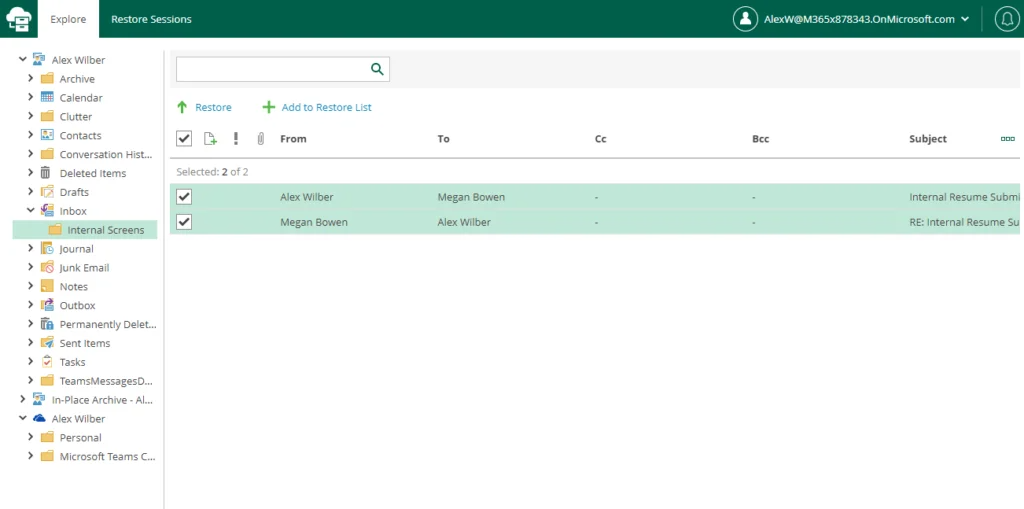
- By default, all users can only see their own data.
- We can create ‘Restore Operator’ roles who can view the full organisation, or a subset of data.
- In this case you would just need to select the change scope option in the top left to change to any user/site you are a restore operator for.

- In this example, the Administrator is able to select a Onedrive file to restore for their user Lidia:

- Selecting Restore brings up the Restore wizard.

- You can choose the restore mode of the restore, to overwrite any existing document or keep the both the original and restored version(s)

- After selecting Next, specifying an optional restore reason and pressing finish, you will be taken to the Restore Session for the data.
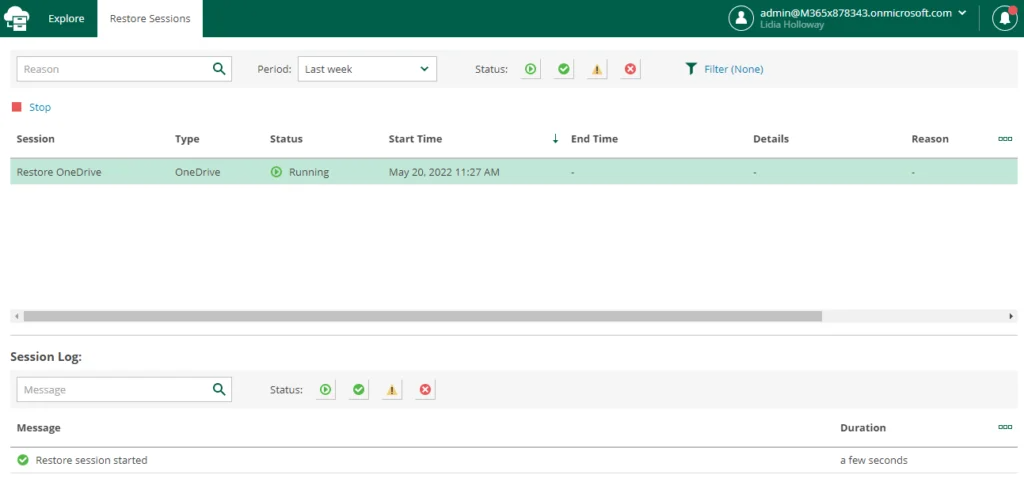
8. This shows progress for all items being restored up to completion
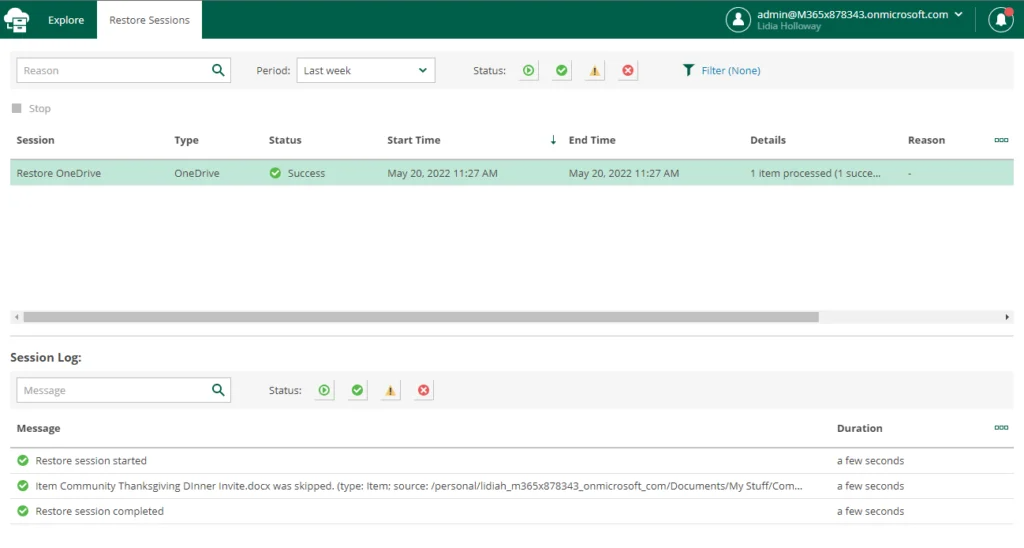
Complete! Using the 365 Restore portal both administrators and end-users can easily access their backed up data within the Vitanium Cloud.
